Install free SSL on PLesk
In an earlier post we discussed why every website should use SSL. This post shows how to install a free SSL certificate on Plesk, one of the most widely used hosting control panels.
To install free SSL on Plesk, first log in to your hosting account and click Hosting Settings. On this page, check the SSL support box. If the box is grayed out, you don’t have permission to change it and need to send a ticket to your hosting provider.
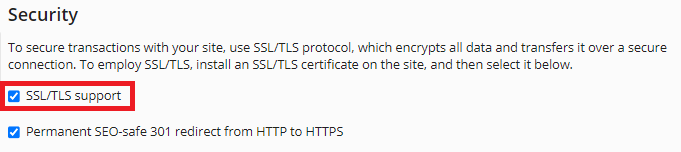
The second option makes your website accessible only over HTTPS. Many WordPress sites end up with mixed content after switching, so leave this box unchecked until you’ve fixed that.
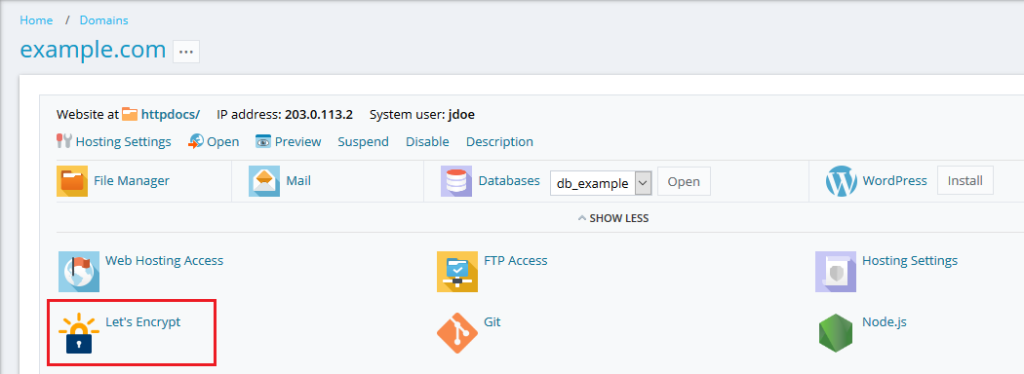
You should now see the Let’s Encrypt icon.
The next page looks different depending on your Plesk version and on whether you are installing or renewing the certificate. Look for one of two options: Install or Renew certificate.
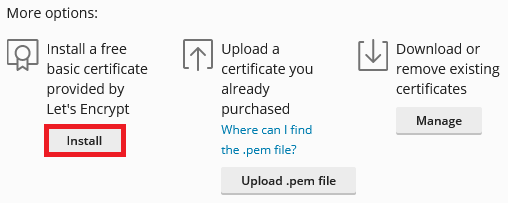
On the following page, choose the domain and the type of SSL you want. All subdomains and aliases must point to the current host (the Plesk server you are installing SSL on). If even one subdomain or alias record points to another server’s IP, you’ll get an error such as 403 Forbidden.
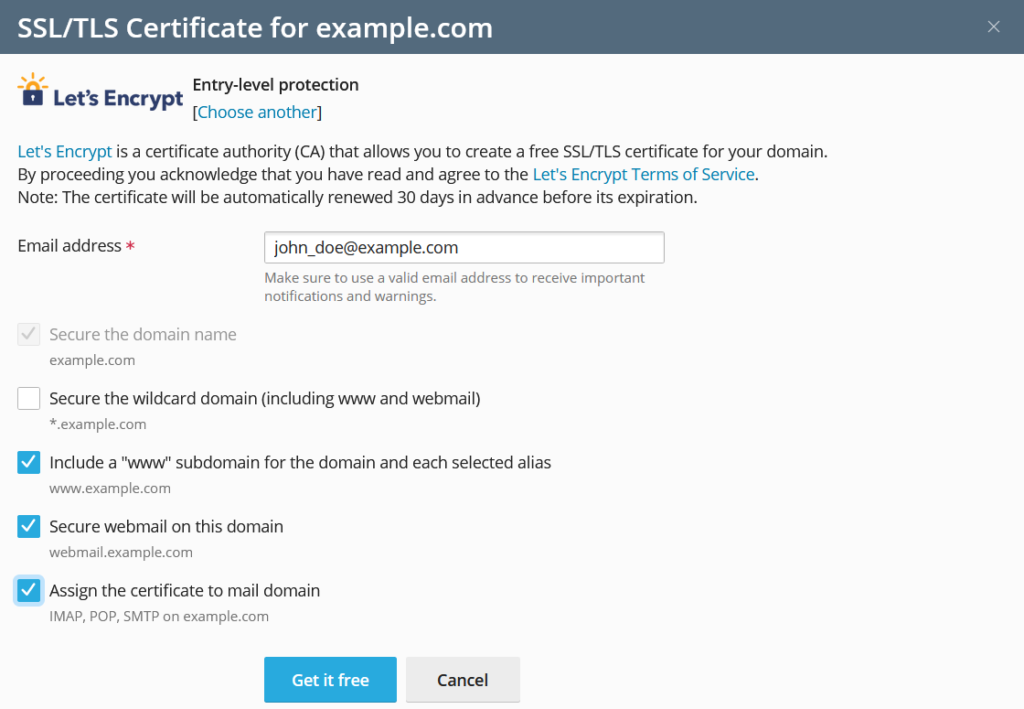
Enter an email address, click Get it free, and continue until you see the success message.